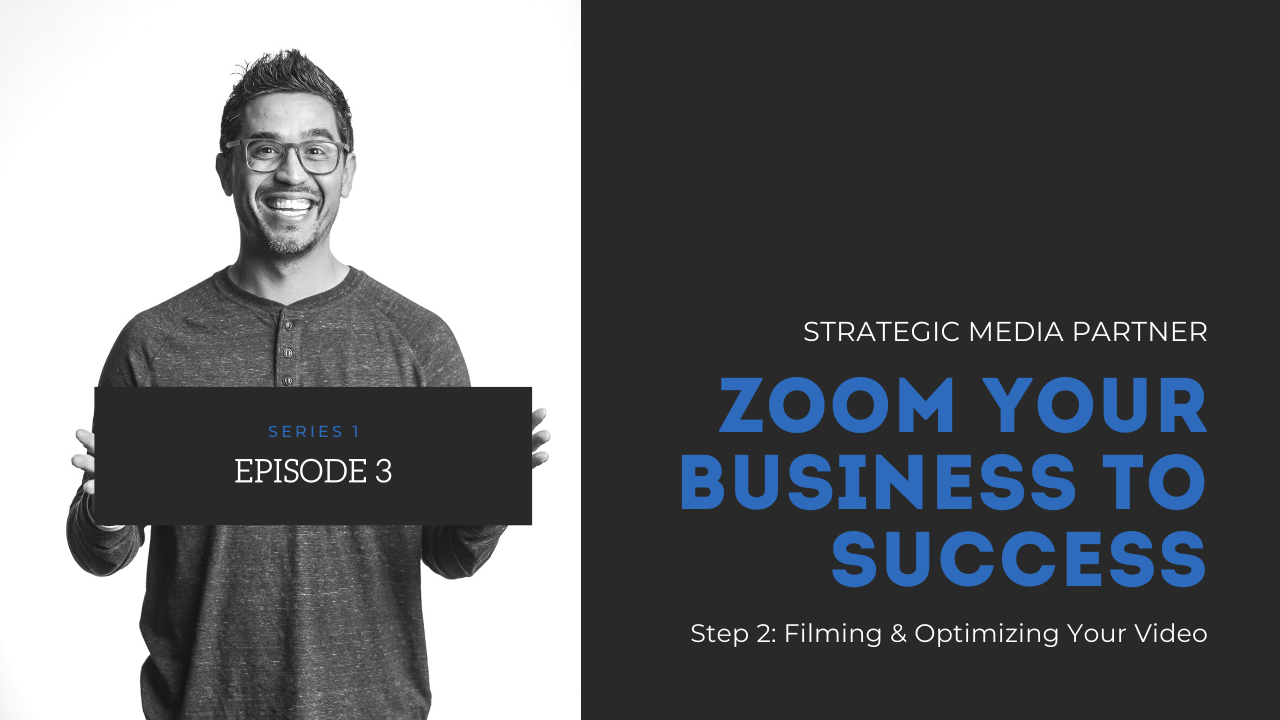
If you’ve watched the first video of this series, then that means you have completed step 1 which is to create a script.
Hi, I’m David A. Moya with VideoSellsRealEstate.com and I’d like to share with you the second step you need to take to start creating similar video content.
The second step we’re going to take today is to actually film your live video. To make things very easy for you, we’ll simply be using Facebook Live to create the video. If you haven’t used Facebook to stream a video, you’re in luck, because that’s what we’ll be doing today.
And yes, depending on your skill set and level of expertise, you may opt to film several clips instead of filming your live video. If you want more information about how you can do that, you can head over to our Tutorial Section where you’ll find a video of me explaining how to do this. I’m sure we’ll also include a link to the Tutorials in the description below.
It’s important that we note that you can do this on Zoom and YouTube Live if you prefer. The point is to use something consistently. Wherever you film this live video, be sure you can download the video file after you’ve filmed so you can syndicate the video on all your social media channels.
Let’s head over to our screen-share so I can walk you through some dos and donts when filming your live video.
Dos & Donts Summary
- Can you hear me now?
- Do make sure you have good service or if possible connect via wifi.
- Look the part
- Wipe down your selfie camera lens to get rid of any smudging. 10-20% more animated than normal.
- Follow A plan
- See “Simple Storyboarding” for ideas. Avoid wasting time covering not so flattering areas…less is more.
- Leverage Your work
- Utilize our social media strategy to leverage filming your live video across multiple channels.
Ok, now that we’re ready to go, head over to your Facebook Business Page to go live.
How to Go Live
- Go Live – At the top of your main wall you should be able to see a “Go Live” option. Click that button.
- Horizontal Mode – Be sure your computer or smartphone is in horizontal mode. Selecting this mode will allow you to utilize more of the screen and give you more flexibility in the future should you want to edit the video.
- Add a Title & Description – This is a great tool so you can draw more attention to your video while you’re live and help you get more optimization.
- Start Live Video – Now that you’re all set, click on the Start Live Video button to start your live video. Once you do this you will not be able to stop/pause the video. Your only option will be to end the video.
- Optimization – After you’re done completing your live video, you can now fully optimize your video by selecting the “Edit Video” option.
- Title – something catchy & descriptive
- Description – include hashtags as needed
- Tag – sponsors, participants, location, etc.
- Tags/Keywords – this will help people find your video
- Custom Thumbnail – see our Canva.com tutorial
- Subtitles & Captions – select Autogenerate
- Hit Save
- Download video file to use on other social media channels
- You can edit the video to get rid of any dead space which I will show you in the next video.
If you like this information, please like, comment and share this video. And be sure to follow us on all social media platforms as we release new content like this every week.
Again, I’m David A. Moya with VideoSellsRealEstate.com and remember, we’re posting video content every week on social MEDIA so you have to start thinking like a media company.
